Gamith
Members
-
Joined
-
Last visited
Everything posted by Gamith
-
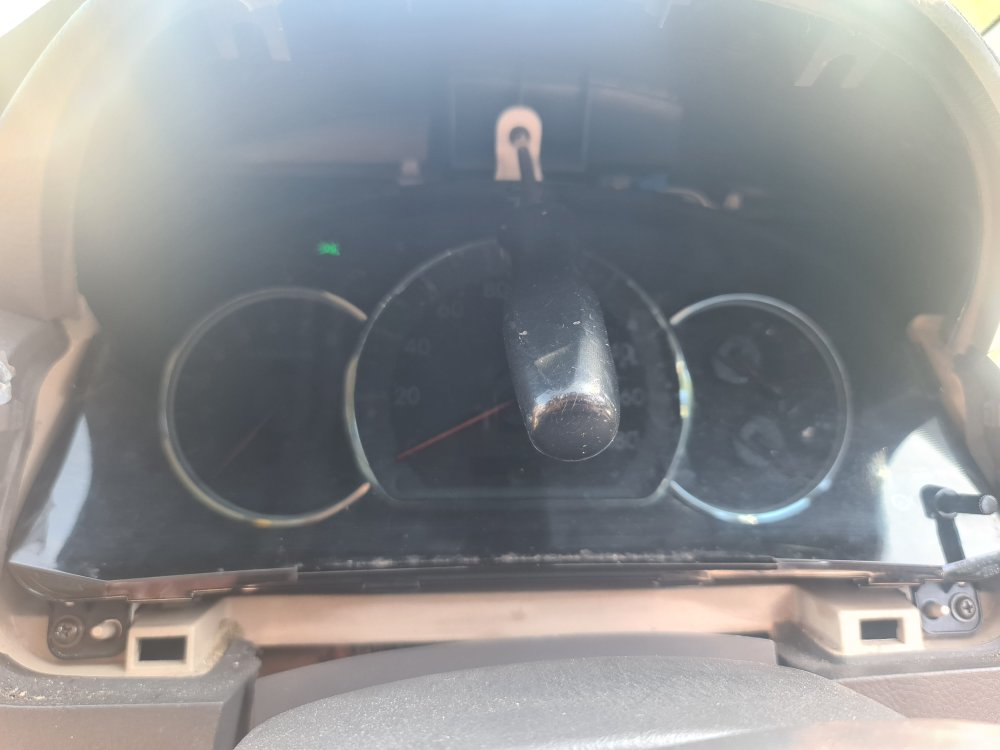
Replacement is the reverse of course, though I may need to tweak the pointer positions, as the car was turned off I set them all to their home / zero positions
-
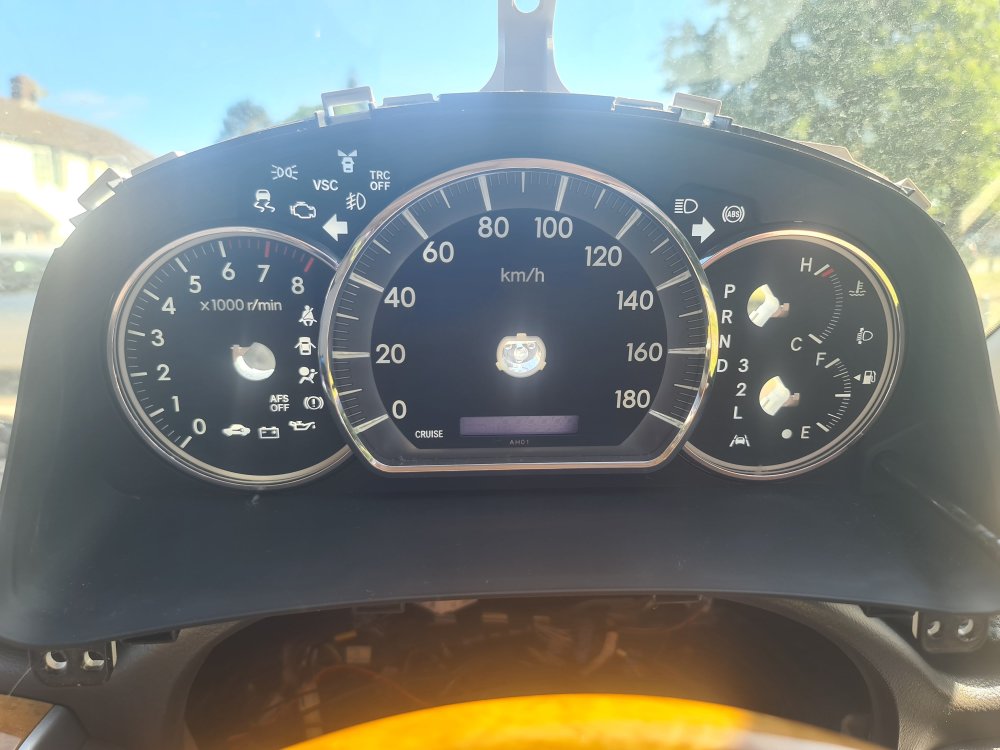
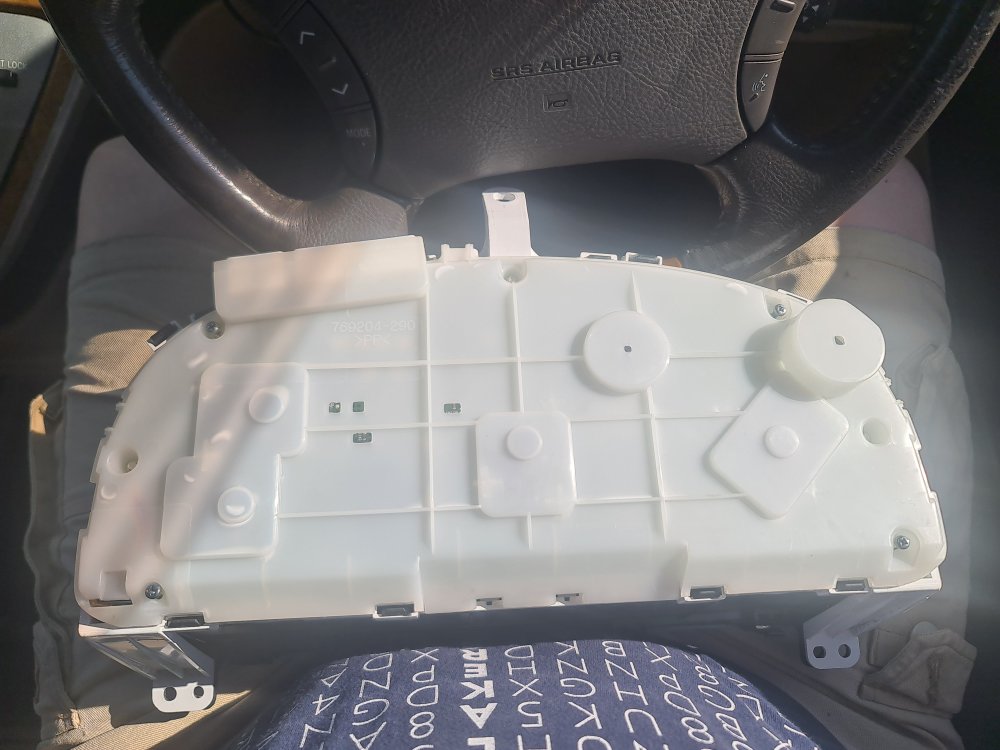
And that is the point that i gave up on identifying what dashboard bulbs didn't work as the sods are soldered directly onto the board. However I was able to take a picture of the dashboard with no backing so I could see all the lights I could have: I don't think I have the VSC, TRC, AFS, Lane assist or the 'beachball on your lap' indicator systems though. I DO have the cruise, and others though.
-
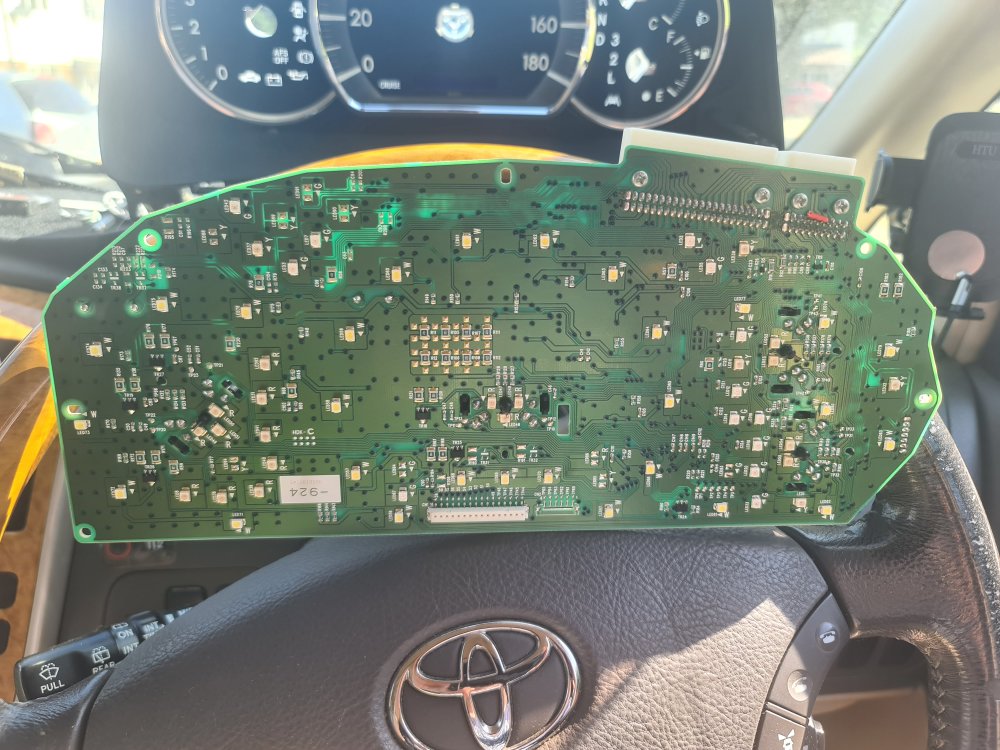
The underside of the board. If you look carefully you can see the slender motor spindles for the 4 indicators.
-
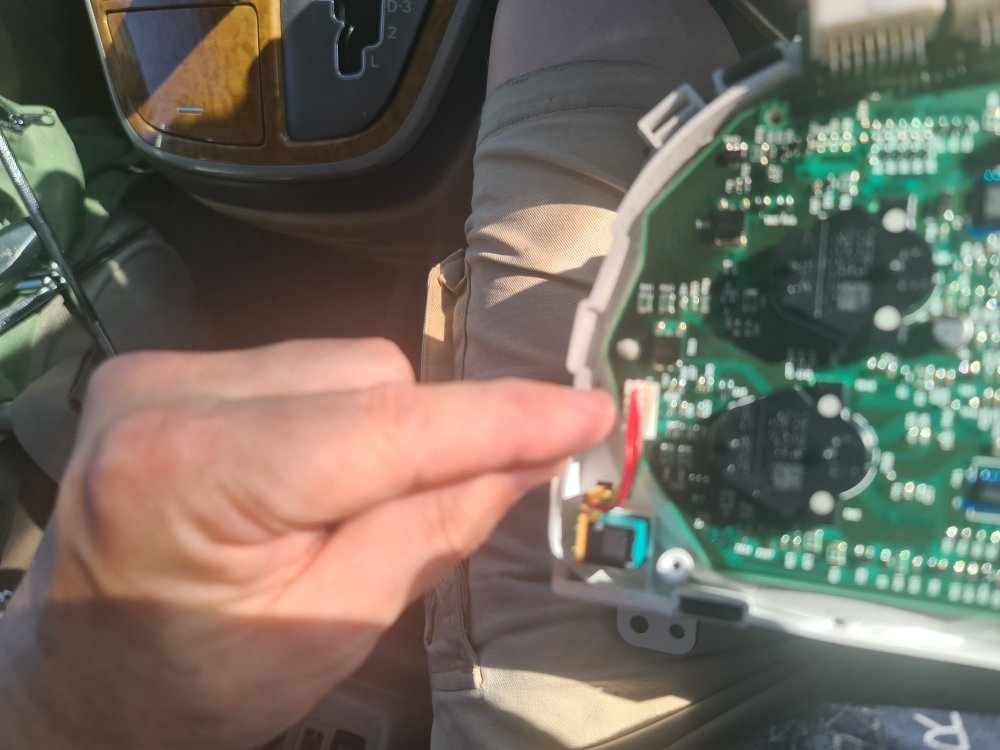
VERY IMPORTANT Before moving the circuit board note that there is a very delicate set of pins at the bottom of the board - i used a trim tool to gently lever the board free.
-
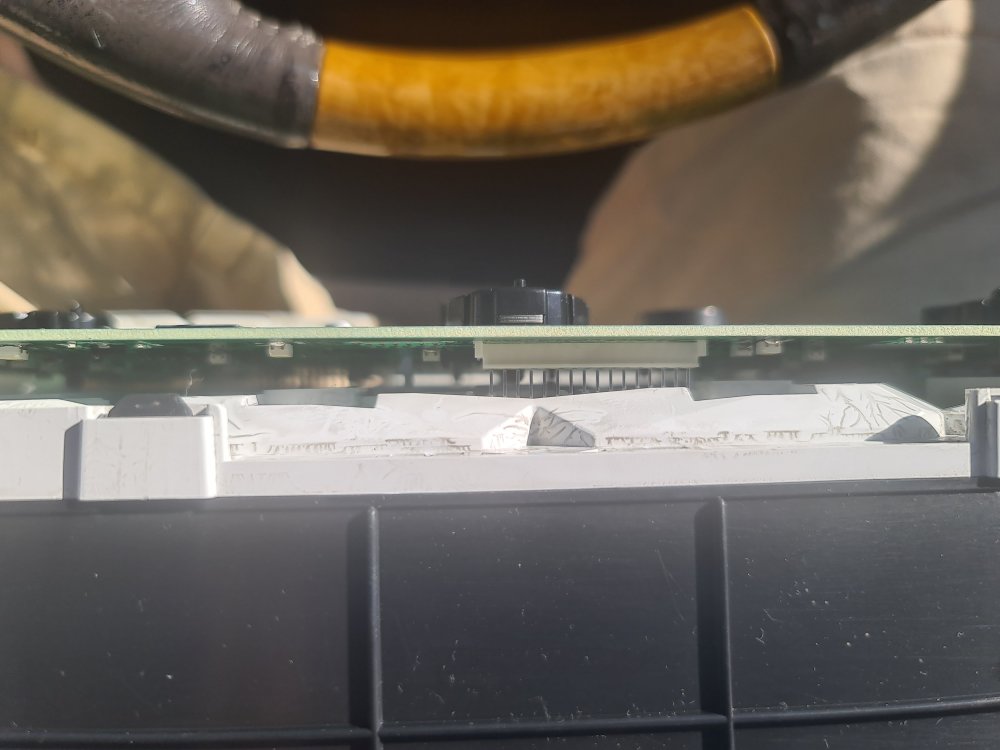
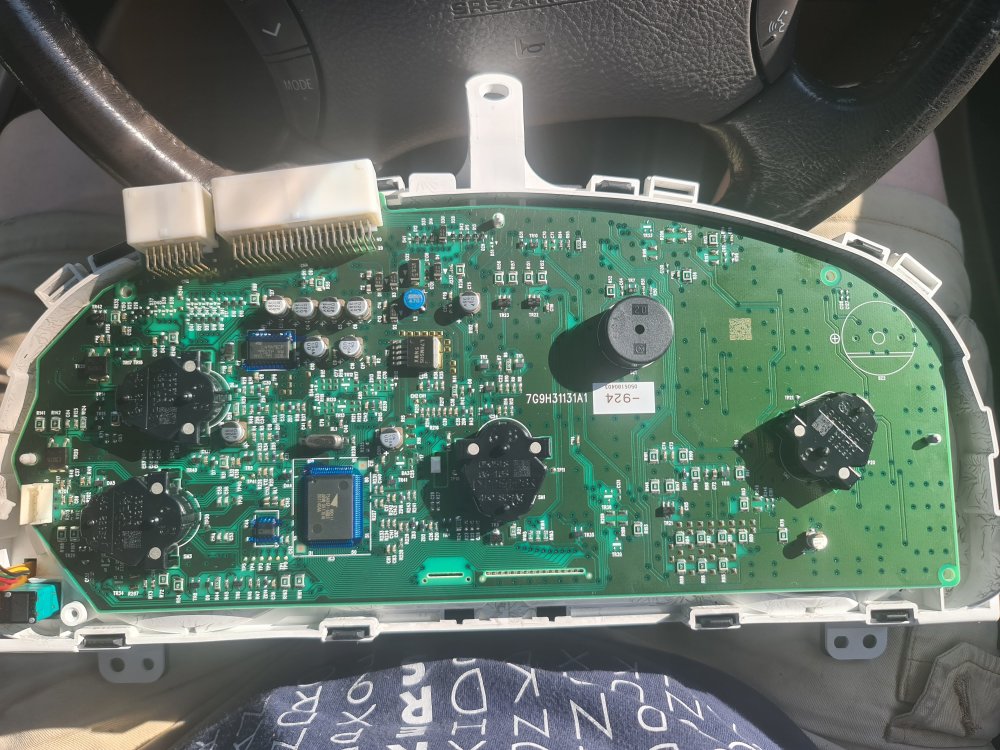
The circuit board looks like this. Please note that there are no screws holding this in place - just a single clip in the middle that is just visible to the left of the black motor in the middle.
-
There is a connector on the left side that can be disconnected. Hopefully yours will have a better focus than mine 🙂
-
You can then remove the indicator umm pointers? there must be a proper words. I didn't do this - I removed the back panel and wondered what the noise of falling pointers was.
-
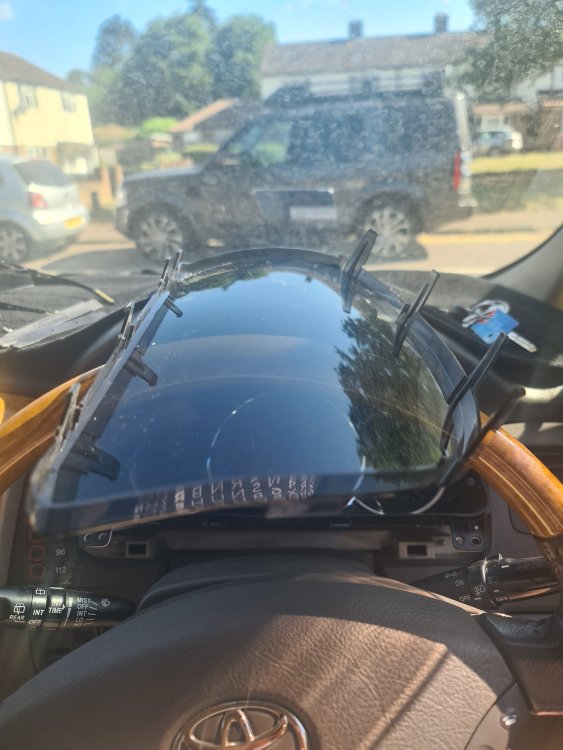
There are a series of 8 clips to remove the front cover - four on the top and four on the bottom, I released the top ones and then the bottom, but hey - you do you.
-
Congratulations - the panel is now out. You will see four screws that need to be undone (top left and right, bottom left and right) - once more my crosshead screwdriver was able to do these.
-
Removing the panel itself means these two connectors need to be disconnected - there is a central lever to push in on each and then they can be loosened and pulled free.
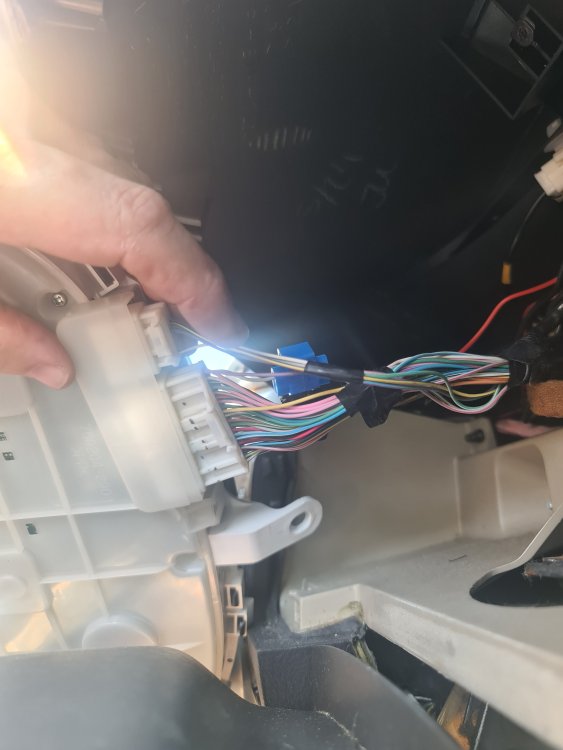
-
Next with a crosshead screwdriver remove three screws - one at the top and then two at the bottom.
-
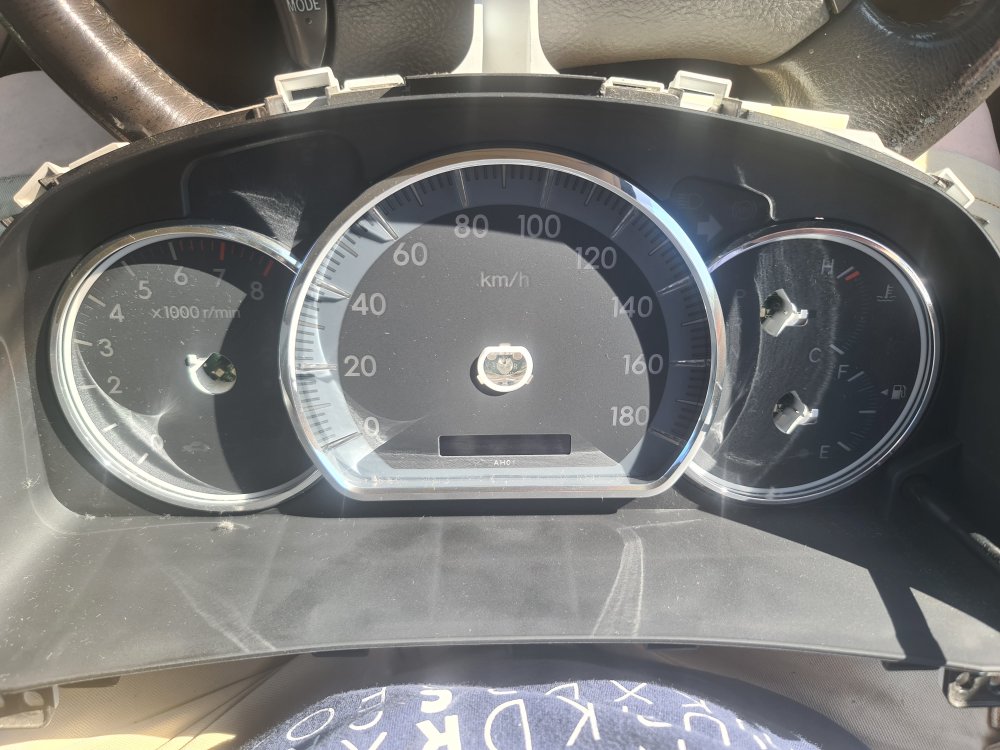
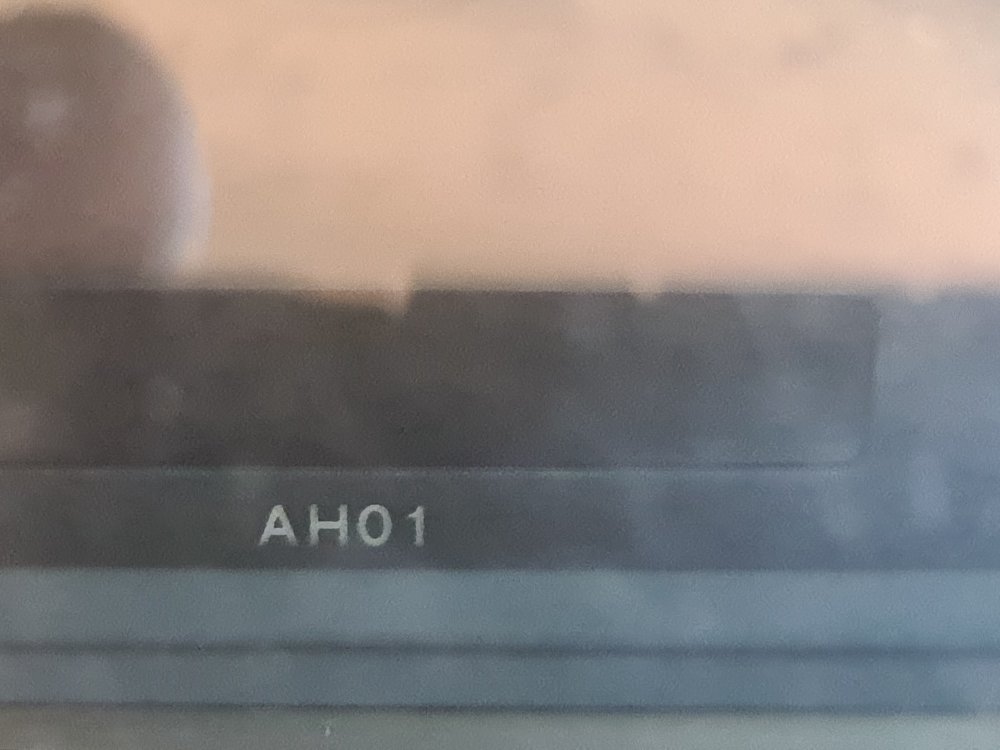
The AH01 number is just underneath the Odometer readout and i assume is the panel model - as new info comes along i can change this. The first thing to do is to remove / loosed the two fasteners in the top of the dash - i used a medium sized crosshead screwdriver bit. Turn each through 90 degrees to disengage the lugs - the fastener should then be loose. After that use a plastic trim tool to pop the base of the cover loose and pull it forward - it's all in one and easy to remove.
-
My hydraulic Citroens (GS(A)s and BXs) had virtually no brake pedal travel - as soon as they were touched they came on, in the case of the rear brakes it would depend on the load in the back as to how much pressure was sent to the brakes. Took some getting used to and needed good tyres.
-
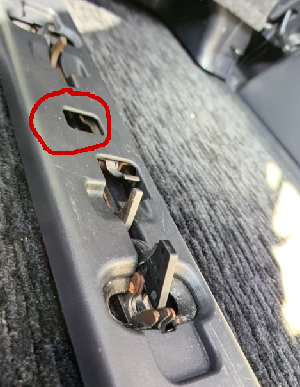
I know nothing about the 20 series but have you tried moving the tab to one side and lowering the catches? Failing that the middle lever that is pointing up may be part of the system. I have converted ours into a sort of camper van with an 18mm thick floor on top of the carpet. I left the runners and cut out slots around them instead, putting some rubmatting down over the top. Recently I have added a false floor for bedding etc to stay.
-
There are quite a few posts on this. I am not familiar with the ggh20 as i have a 2005 facelift model but mine came with a dashboard switch that was connected to a wire that ended up coiled up in the boot lid. I ended up getting these '2x Red Rear Bumper Reflector Brake Light For Toyota Avensis Alphard RAV4 Estima' - https://www.ebay.co.uk/itm/265653102036 and using the wire from the dashboard - they reflect and give a very bright light. However different lights are used across the ranges so you will need to make sure you have the correct ones - though at that price you can try them and see.
-
I have found these which may help - obviously not Alphard-specific but then the codes shouldn't be: https://carmodnerd.com/p1835/ https://carmodnerd.com/p1301/ (not sure about any in between these) https://carmodnerd.com/p1548/ https://carmodnerd.com/c1310/ Hopefully these help.
-
'that radio so do NOT throw it away .' surely?
-
Those codes could be old - have you cleared the codes and see which ones come back?
-
The two main things are to get to a steady speed, say 40mph and to stay at that for a few seconds at least. Then push the button in to start the cruise control (green light) and press the stalk downwards for a couple of seconds to set the car to keep the current speed. Then take your foot off the accelerator. You can increase the cruise speed (up to 71 or 72) by flicking the stalk up, or holding it up. You can reduce the cruise speed by flicking it down. It will cut off if you press the brakes, pull the stalk towards you or press the button to turn it off. If you want to resume a previous set speed, and you haven't turned it off you can do so by pressing the stalk up. It does take some practise as it seems to need a few seconds to register the command. Try it on a quiet bit of road.
-
That sounds like everything - so when the engine is on and you push the end of the cruise control stalk in (towards the steering column) does the green light on the dashboard come on. You can read more on this thread to check everything:
-
I took mine to a locksmith and they read it when the buttons were being pressed.
-
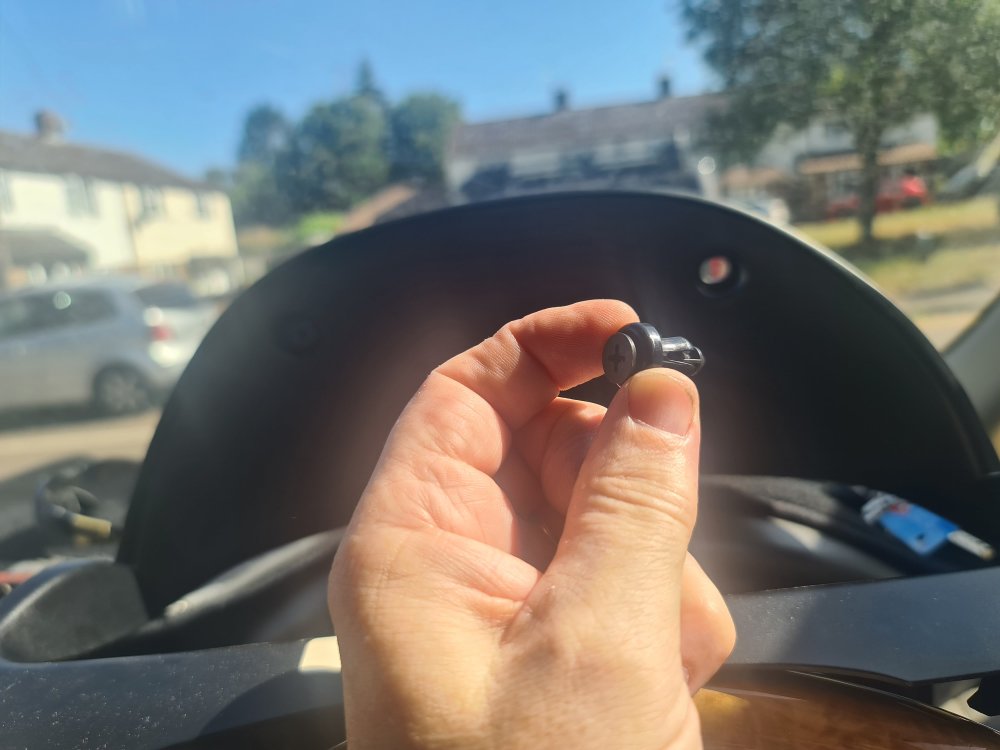
I got a load of random fixings from Aliexpress (I think) and just play with them to get one that does the job.
-
I suspect that the more rapid movement towards the empty end could be a matter of accuracy. When more than half-full the accuracy doesn't need to be that good, but as you approach zero it would be better to get a more accurate indicator. Of course it could be something else entirely - you would have to ask Mr. Toyota.
-
Looks like its the sonar computer, so it depends on whether you want the parking sensors to work i would say.
-
mpg rather than mph I suspect. 🙂