
Alphard Club
Administrators
-
Joined
-
Last visited
Everything posted by Alphard Club
-
 IS that the one where they ripped of this sites logo?? c'mon neil. I have been around the block many times with posts like this and your spammy post is not allowed here.
 -
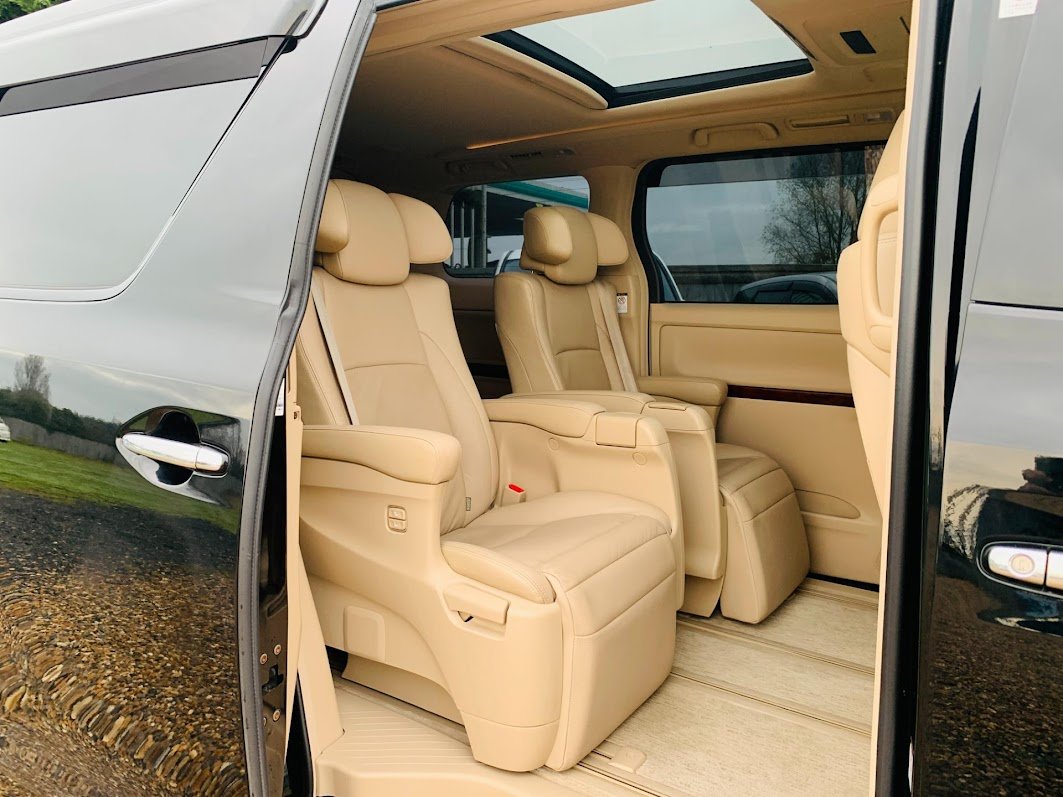
 Toyota Alphard 8 Seater 2362cc new Shape low mileage warranted
 -
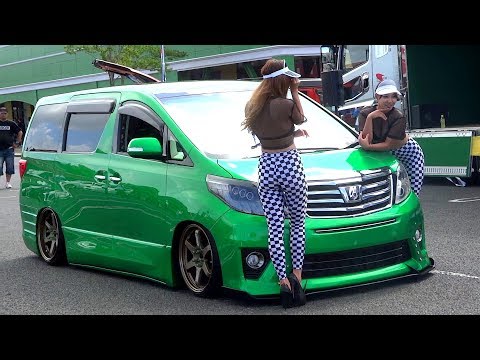 エアサス AIRLLEN NJCF 2018 ノースジヤパンカスタムフェスティバル
 -
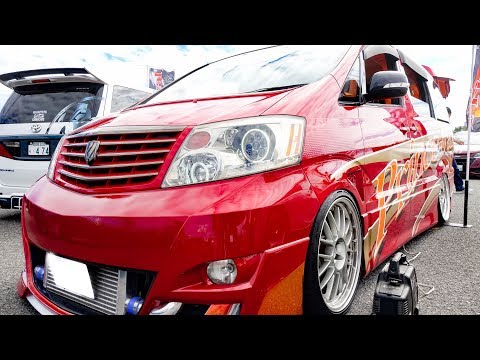 Prince-val TOYOTA 20 ALPHARD modified SUPERCAR CARNIVAL OSAKA 2018,OCT 7 Custom Car Auto Show in Japan 2018. Japanese VIP CAR STYLE .Luxury modified car 舞洲スポーツアイランドで開催された #スーパーカーニバル 2018。浪漫亭20系アルファードカスタム #SUPERCARNIVAL 2018 https://www.youtube.com/playlist?list=PLSWiTt-AVb-7_tNYEieOog2Ky15pvNy0H filmed by SONY FDR-AX700 4K HDR Camcorder. 4K XAVC-S 3840x2160/30P(2160p) MPEG-4 AVC/H.265 #JAutoShow is Japanese Car Show and modified custom car .mortorcycle channel Youtube:https://www.youtube.com/c/JAutoShow Website:https://www.j-autoshow.com Ownd:https://j-autoshow.amebaownd.com We use Royalty Free Music from Epidemic Sound Produce music from Epidemic Sound http://www.epidemicsound.com/
 -
-
I am using Hankook Ventus Primes. When i purcahsed my Alphard it still had the jap tyres on and they were dreadful in the wet. Bing front wheel drive they were useless. I bought Hankooks all round and have been very happpy. The grip now is fantastic. I purchased these as they had a good wet rating too.
-
The boot will keep you dry anyway, use it all the time in the rain with the kids. They climb over abd i can stick their rain coat on. So as you will be mainly lounging about than cooking then i say side door.
-
Hi Ron Welcome to the Alphard Club. You will be making a wise choice getting an Alphard. They are amazing in terms of reliability. It doesn't mean yo can skimp on choosing the right car as there will be a few that have not been looked after. So you will need to take your time. Make sure you get t see the original auction sheets if it's a new import and make sure its got a Bimta or Jevic mileage verification certificate. There are a few bad apples out there. Let us know how you get on.
-
rub down and lacquer is the best way to go for sure.
-
always though fiamma awnings were good.
-
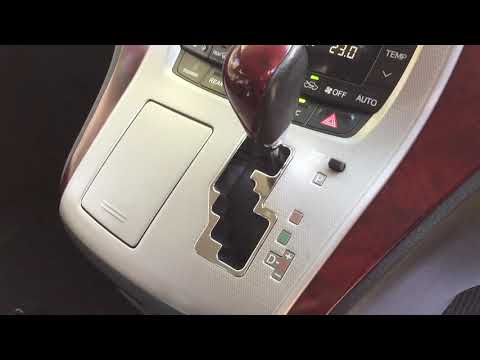
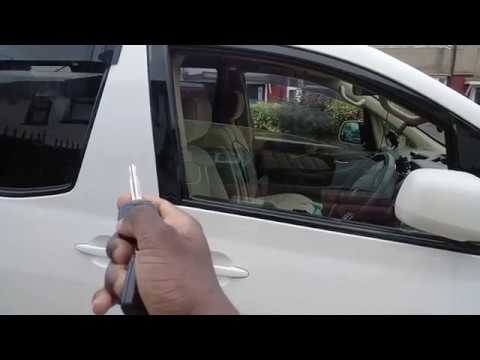 How to wind down windows and unlock doors at the same time
 -
*** This post is being updated regularly*** Anyone can post a car or item for sale here. However, there are some rules that you need to adhere to. Traders Listings Before you add your cars for sale you have to make sure your listings contain the following information. Or your post will be removed. 1. Price Must be displayed with Listing - On the road price. 2. Auction Sheets (advised but not essential) 3. Mileage verification Bimta or Jevic checked. (advised but not essential) 4. Any Warranty 5. Clearly state Age, Mileage in KM's (or combined KM's and Miles ) 6. Clearly state any damage or missing items 7. Business Address and phone or email added to the listing. 8. Photos 9. Full Description 10. THE CAR MUST BE IN THE UK, REGISTERED AND MOT'd Sorry, but these hoops must be met to help our members. We do not accept links to external sources unless you have met all the points above here. Private Listings (if previously used in the UK) You must state the following. 1. Price 2. Age, Mileage (km's or miles) and condition 3. Car history whilst in the UK. Any Japan history is advantageous to the sale 4. Damage or faults 5. Location 6. Photos 7. Full description 8. For your protection and us meeting GDPR requirement rulings, Please do not post full name and addresses here. Please use the forum messaging system or email address.
I usually use blueprint stuff from local factors.
Pumpkin looks alright. Good price. Do you know where to get the harness for it? would i need a beatsonic harness to keep the camera? those are more than the unit.
xtrons screens can vary, some are quite dim in the daytime and hard to see when you have sunglasses on. Most systems are made by the same factory. Pioneer do one but does not have Android opsys
I would look at investing in dial faces. You may find those stickers will be a pain. Also, in an event of an accident, dont let your insurance wiggle their way out of paying. Just saying.
Sample email sent above.. make sure you edit the bits that need editing carefully.
There are 2 email addresses you need to contact. ap-overseas@mail.toyota.co.jp cr@toyota.co.uk Make sure you add both emails by cc-ing one of them. No point contacting Toyota GB directly, these emails will work. This order needs to come from Toyota Japan which will hit Toyota Europe, Toyota Europe then instruct Toyota GB, who then instruct a dealer to contact you with an appointment. You will get a call by Toyota GB before it goes to the dealer though. The dealer needs to receive instructions booklet on how to change the airbag etc.
I have never worked mine out and never used it. I presumed it was all connected to the TV tuner under passenger seat. Not electronically minded enough.
I have always wished mine was dial converted because i swear my current set up is affecting the gearbox set up.
Seconded. Ben can get all the parts needed
Welcome along Ben. You Come Highly recommended. Feel free to add some contact info mate.


Important Information
We have placed cookies on your device to help make this website better. You can adjust your cookie settings, otherwise we'll assume you're okay to continue.